Level Editor Manual
Welcome to the Mobility Level Editor! The level editor will be available from v2.0.0 in the desktop versions of the game. Here's a short introduction!
NOTE: Screenshots are from a pre-release version: some small details might be different. Button names used here are the default keyboard controls—these can be remapped in the options.
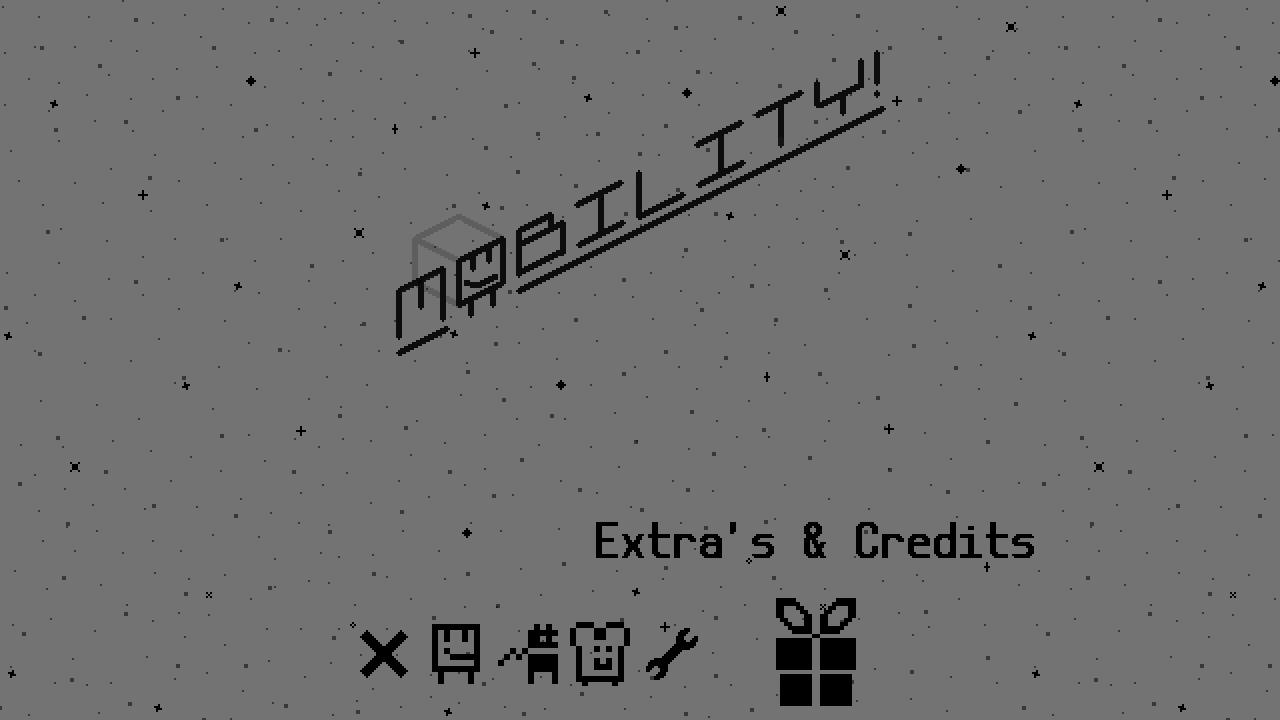
To access the level editor, select Extras and Credits on the title screen, then choose Level Editor.
Editing
You'll be greeted by a fresh 100x100 canvas for you to fill in! Use the arrow keys to move (& hold to move faster). Use your current tool with Z. Swap between the four tools by pressing X repeatedly, or X and a direction:
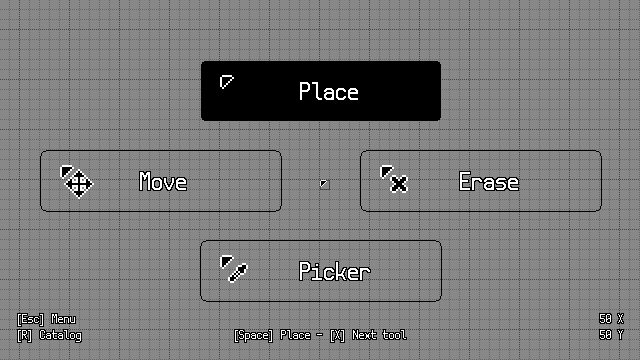
- Place (X + Up): Place objects on the level. The default tool.
- Hold Space down while moving and you'll create a trail of objects below your cursor!
- You can even place things over objects that are already on the level. If you press once, you'll see the message "Press again to overwrite". If you then press again, the old object will be removed to make place for the new object.
- Erase (X + Right): Remove unneeded items from your level.
- Picker (X + Down): Copy one object from the level to your Place tool.
- Grab (X + Left): Pick up an object and place it elsewhere on the level.
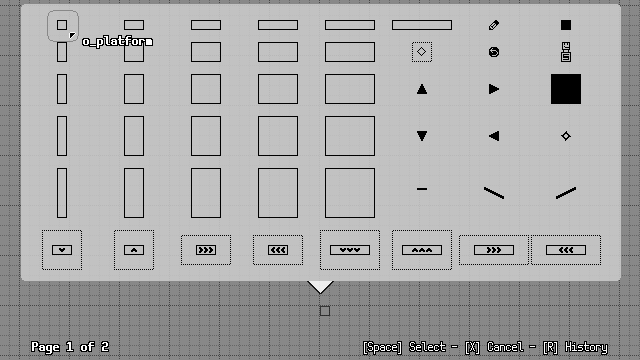
When using the Place tool, press R to open the object catalog. If you've played the game you'll be familiar with most of them, but there are a couple of special ones:
- o_cabletool: Allows you to draw cables. They don't affect the game, but they are great for decoration and showing the intended path! Cables will automatically attempt to connect to objects and each other.
- o_editorstartposition: Begin point for the level. When you select PLAY but don't have one of these, you'll be prompted to add one before you can play the level.
- o_turnaround: An invisible marker that will cause moving spikes and platforms to turn around upon collision.
The first page mostly has platforms, while the second page lists some nice decorations. You can also press R again to see your history. The editor remembers whether you last picked an item from the catalog or the history, and shows you that menu first.
NOTE: There are no restrictions on the amount of items you can place, but note that placing an extreme amount of objects will slow down the game.
Editor Menu
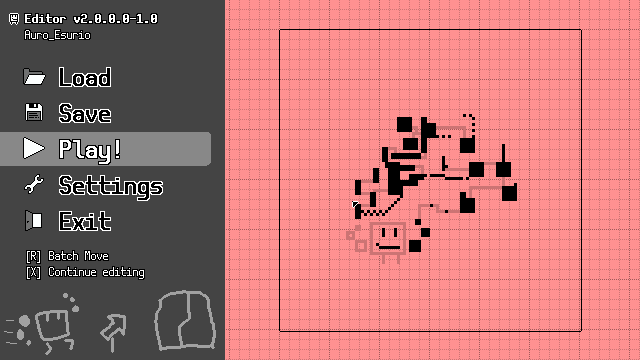
If you press Escape, then the level will zoom out, and more options appear:
- Load: Load a level that's saved in the file system. You can also start creating a new level here.
- On Windows, when the load menu is open, you can also drag and drop a file into the window to load it.
- When you save it, it won't edit the file you dropped. Instead, once you press Save, it'll offer to save a copy of the level in the main level folder.
- Use the Reveal folder location option to view the level folder in the explorer, so you can share the levels you made!
- On Window, the level folder is at %userprofile%/AppData/Roaming/mobility/CustomLevels
- The folder can sometimes open in your web browser and not your file explorer. Oops! When this happens, just copy the file path from the browser into your explorer (without the file:/// prefix).
- NOTE: If the filename is changed outside of the game, some special filename characters will not be displayed, and you might need to rename the level.
- On Windows, when the load menu is open, you can also drag and drop a file into the window to load it.
- Save: Give the level a name and save it to the file system.
- Your level must have a name before saving. Use the keyboard to enter one.
- If there is an existing level with the same name, you can overwrite it or rename the level.
- NOTE: There are no auto-saves, so make sure to save your level often and make backups!
- Play: Give your level a try! You can try every difficulty. Hold Escape to return to the editor.
- Before you can play the level you must place a start position. If you don't have one, the editor will remind you to place one.
- Your record times for the level are kept until you return to the editor.
- Settings: Set properties like which music to play, the background color, the player character, and which modes are playable on your level.
- In general you want to keep all modes enabled, but this helps indicate that a level is completely impossible in some difficulties. But designing a level around a specific mode might also be fun. Be creative!
- Here you can also find the general game settings & a link to this manual.
- Exit: Go back to the Mobility main menu.
- Batch Move [R]: Move the entire level around. Great if you've built yourself into a corner, and want to free up some space.
Got that? Then press Escape to continue editing!
Tips for level design
Everything goes in the level editor, but just in case you need a push in the right direction...
- Start with a general idea (like a theme or gimmick) and design your level around it! There's no shortage of them: trampolines, moving blocks, grind rails...
- If starting in the editor is daunting, try to to sketch out your level on paper first! Grid paper is great for this.
- In a level using checkpoint, make sure that the player can still get back to earlier parts of the level, just in case they forget to touch any blocks and would otherwise need to restart!
- Try to make sure your level can be completed in every mode! This makes it accessible for players of every skill level.
- If you still decide to design your level only for a specific mode, make sure to disable unused difficulties in the level settings.
- Finalize your level layout, then apply decoration to highlight the critical path and secrets! Use the cable tool to draw extra annotations onto the level.
- For ceilings, pre-activated blocks and grind rails work really well! Normal blocks don't activate when hit from below, so if you can't get above a certain block, you might as well already activate it for the player.
- There are a number of pre-included levels as well. Play them, then try remixing those and see what variations you can make!
Other Tidbits
- Make screenshots with F6! These are saved in %userprofile%/AppData/Roaming/mobility/ (on Windows)
That's it!
Thanks for reading, and have fun with the editor!
Leave a comment
Log in with itch.io to leave a comment.